How To Extend LED Strip Lights
LED strip lights are a popular and versatile lighting solution that can be used for a variety of applications. From accent lighting to task lighting, these lights are a great way to add a pop of color and a touch of style to any space. One of the biggest advantages of LED strip lights is their flexibility, which allows them to be cut to fit any space. However, sometimes you may need to extend the length of your LED strip lights to reach certain areas. In this article, we'll explore some tips and tricks on how to extend LED strip lights.
Follow these steps
-
Plan ahead
Before you start cutting and extending your strip lights, it's important to plan ahead. Determine how long your LED strip lights need to be and where you want to extend them. This will help you determine the amount of extra wire and connectors you will need to purchase. -
Purchase additional supplies
To extend your strip lights, you'll need to purchase additional strip lights and connectors. Make sure to purchase the same type of wire and connectors that came with your LED strip lights to ensure compatibility. -
Cut the LED strip lights
Using a pair of scissors or a sharp knife, carefully cut your strip lights where you want to extend them. Make sure to cut along the designated cut line, which is usually marked on the lights. This will ensure that you don't damage the lights and that they will still work properly after being cut. -
Connect the wire
After you've cut your strip lights, you'll need to connect the additional wire to extend them. Strip the ends of the wire and solder them to the corresponding pads on the lights. If you're not comfortable with soldering, you can use a connector instead. Simply insert the wire into the connector and crimp it with a pair of pliers. -
Test the lights
Before you install your extended strip lights, it's important to test them to make sure they're working properly. Plug in the lights and turn them on to ensure that they're producing the correct color and brightness. If you notice any issues, double-check your connections and make sure everything is securely in place. -
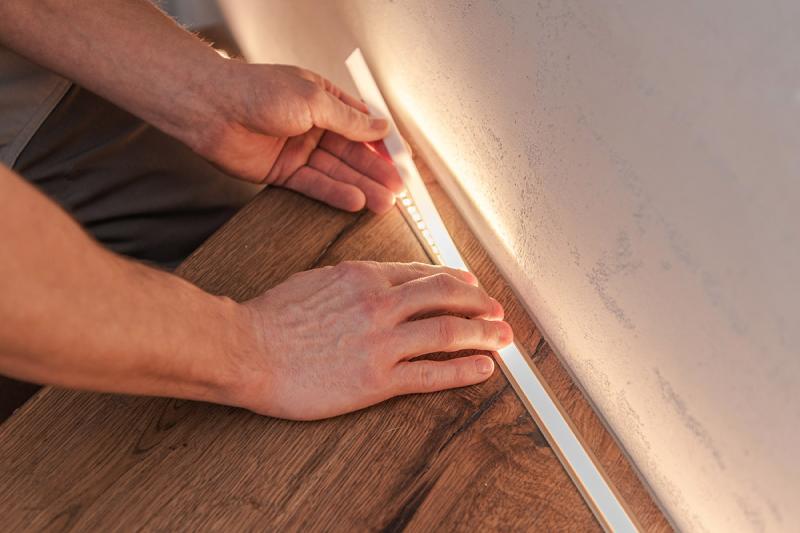
Install the lights
Once you've confirmed that your strip lights are working properly, you can install them in your desired location. Use adhesive tape or mounting clips to attach the lights to the surface. Make sure to clean the surface first to ensure a strong hold. If you're installing the lights outdoors, make sure to use weatherproof tape or clips to protect them from the elements. -
Connect the power supply
Finally, you'll need to connect your extended LED strip lights to the power supply. If you've extended the lights a significant distance, you may need to use a stronger power supply to ensure that the lights are getting enough power. Make sure to follow the manufacturer's instructions for connecting the power supply to avoid any electrical issues.
Extending LED strip lights is a simple and straightforward process that can be done with just a few additional supplies and some basic tools. By following these tips and tricks, you can easily extend your LED strip lights to reach any space and create the perfect lighting ambiance. With their flexibility, energy efficiency, and versatility, LED strip lights are a smart choice for any lighting project.